In this tutorial, you will learn how to integrate your ÁGORA POS with the Yalt loyalty platform.
With this integration, your sales and customer information are automatically linked to Yalt, allowing you to manage points, rewards, and campaigns more easily and quickly.
Follow the steps below to learn how to activate the connection between your ÁGORA POS and Yalt in just a few minutes.
1 - Enable Integration on Yalt
● Go to "Settings" menu

● Choose the "integrations" option

● Choose ÁGORA and click in "Configure"
● To integrate with ÁGORA Webhooks, you'll need to add our webhook URL into your ÁGORA POS Admin
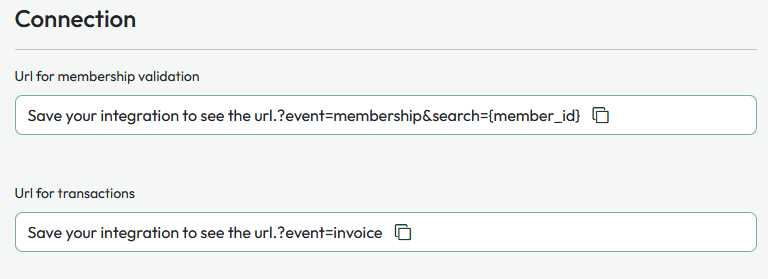
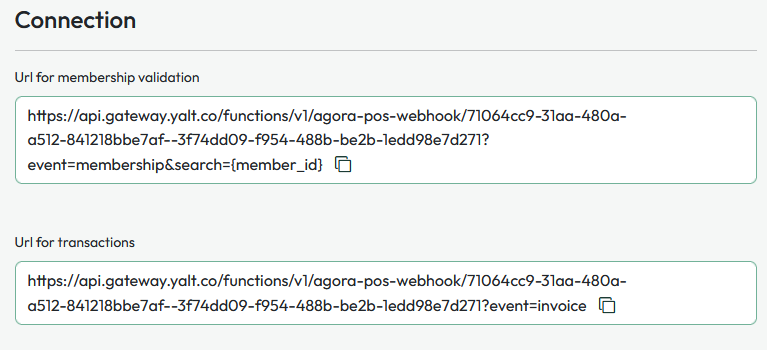
● Press "Save" on the top bottom of the page so the webhook URL´s can be created

● Once they are created, you may copy and add them your ÁGORA POS
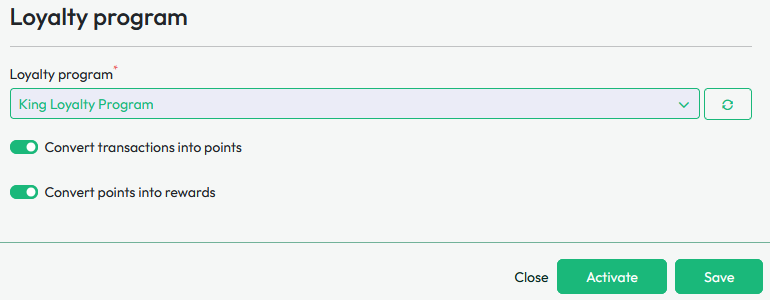
● Choose the Loyalty Program you have created and press "Activate" to finalize your integration
2 - Enable Integration on ÁGORA
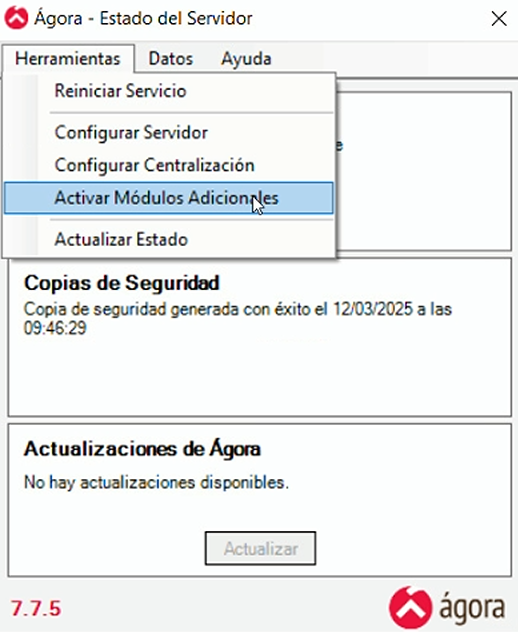
● Go to "Settings" and choose the option "Activate Additional Modules"
● Check the box for the option "Activate Integration Services Module" and click the configuration option

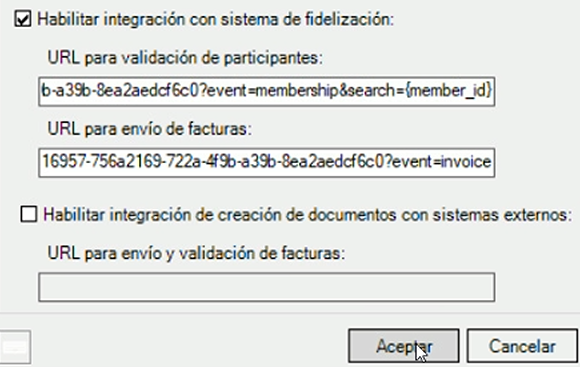
● Check the box for the option "Enable Integration with Loyalty Program", paste the Yalt URL´s and press "Accept"
3️ - Client Registration
● Clients can register via:
○ The Yalt App (Android/IOS)
○ The onboarding page - https://yalt.co/
4 - Search for a Client
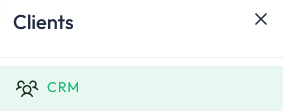
● Go to the "Clients" menu

● Select "CRM"
● You can search by:

○ Phone number
○ Customer code
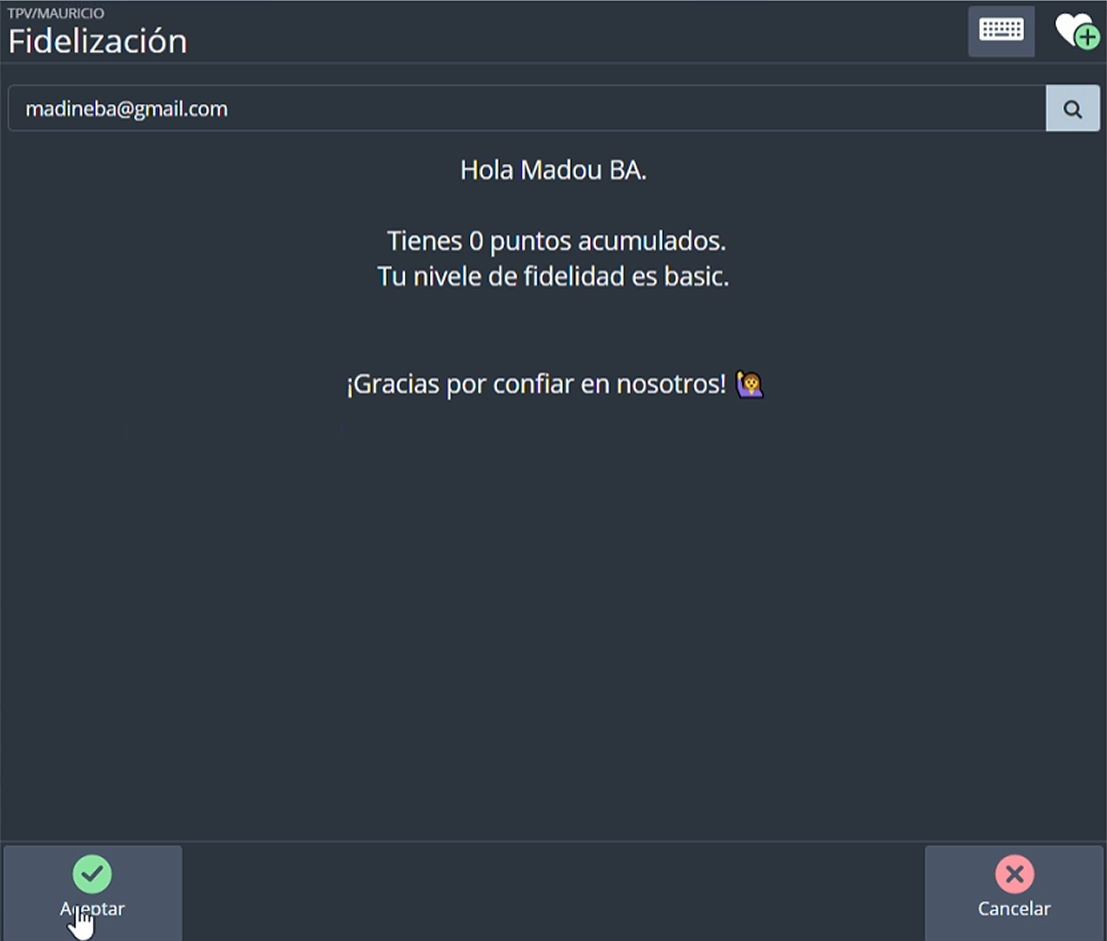
5 - Adding a Client to a Transaction
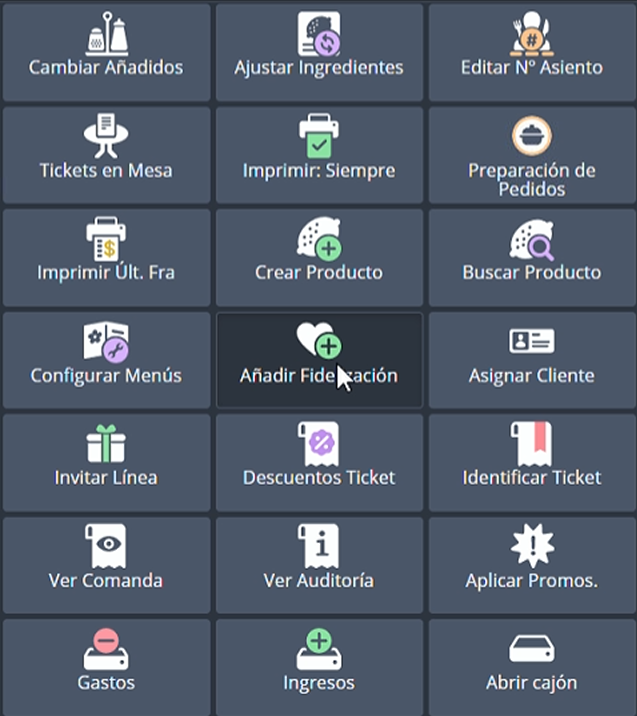
● On the ÁGORA POS, select "Add Loyalty"
● On the search bar, introduce de the information of the client you want to add

● Confirm if the client added is correct and press "Accept"
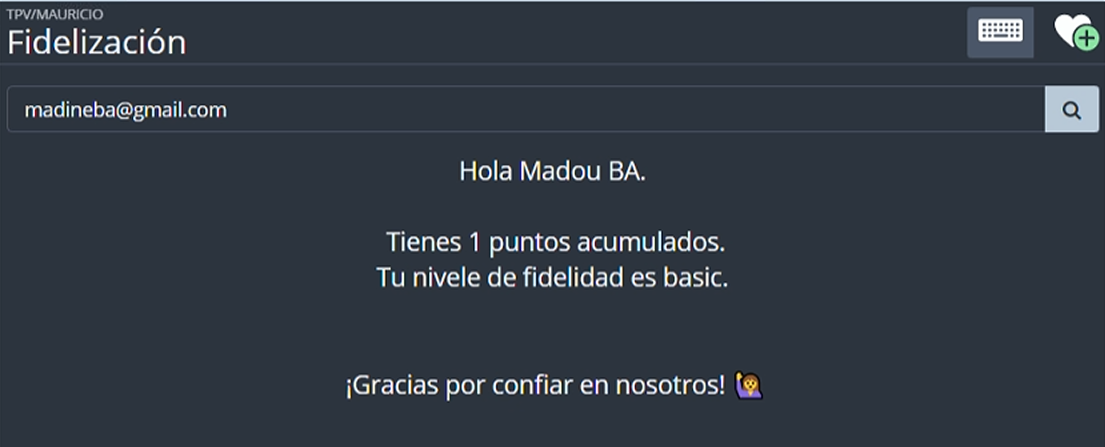
6 - Points System
● Points are automatically credited when a client is added to a transaction
7 - Rewards System
● Stamp System:
○ Reward automatically appears when client is added to a transaction
● Points System:
○ Cashier sees all rewards the client is eligible for, regardless of purchase
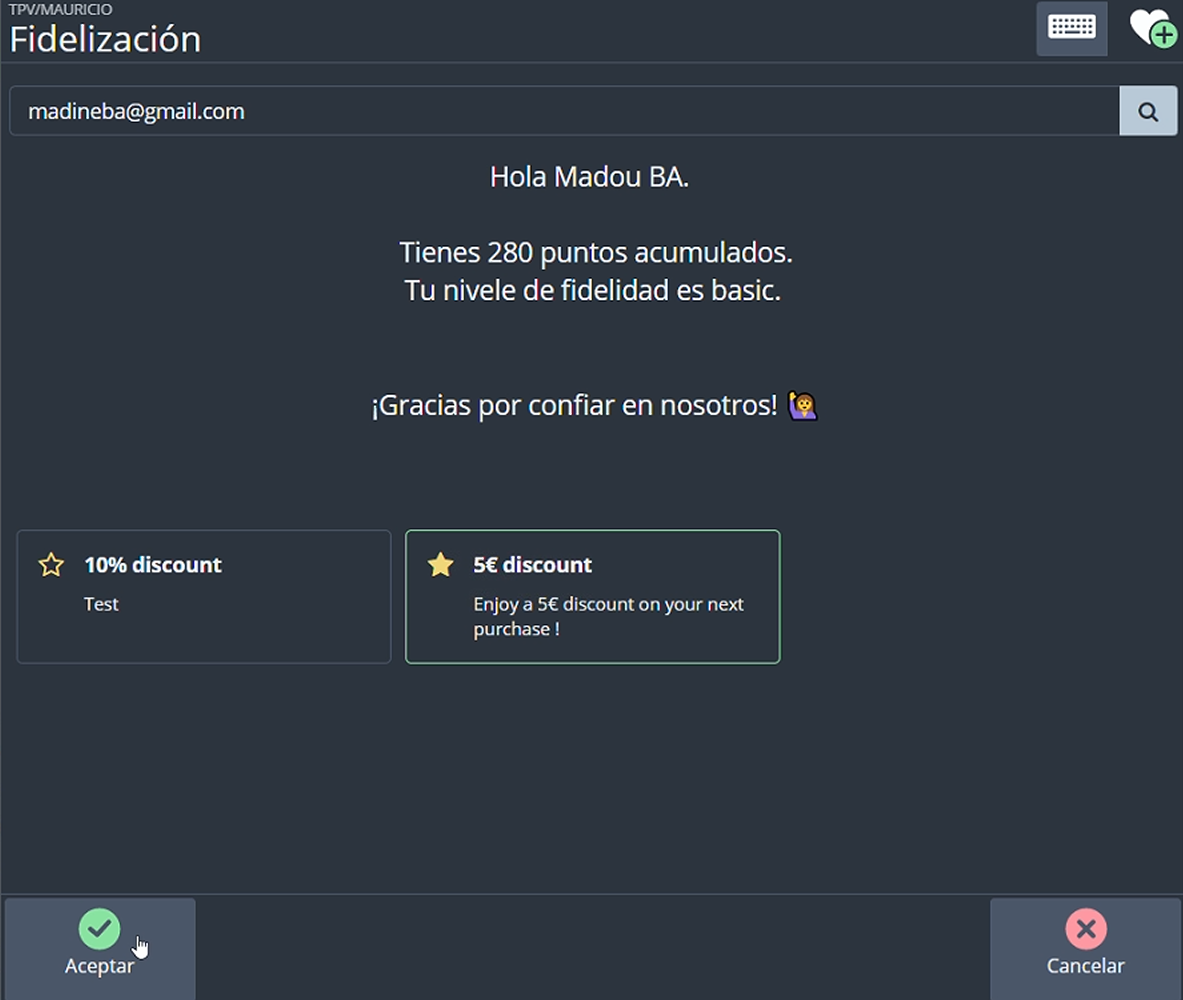
Important:
● When adding a client via the loyalty menu in ÁGORA, you can select a reward
● Upon closing the ticket, the selected reward is considered REDEEMED
8 - Create Rewards
● Reward Types:
○ named_reward (e.g., free pizza, free drinks)
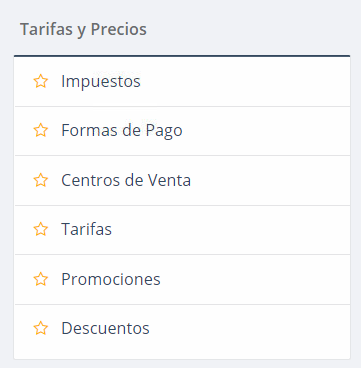
To create this type of reward, press the "Administration" menu:

Choose the option "Discounts":
Choose the option "New":
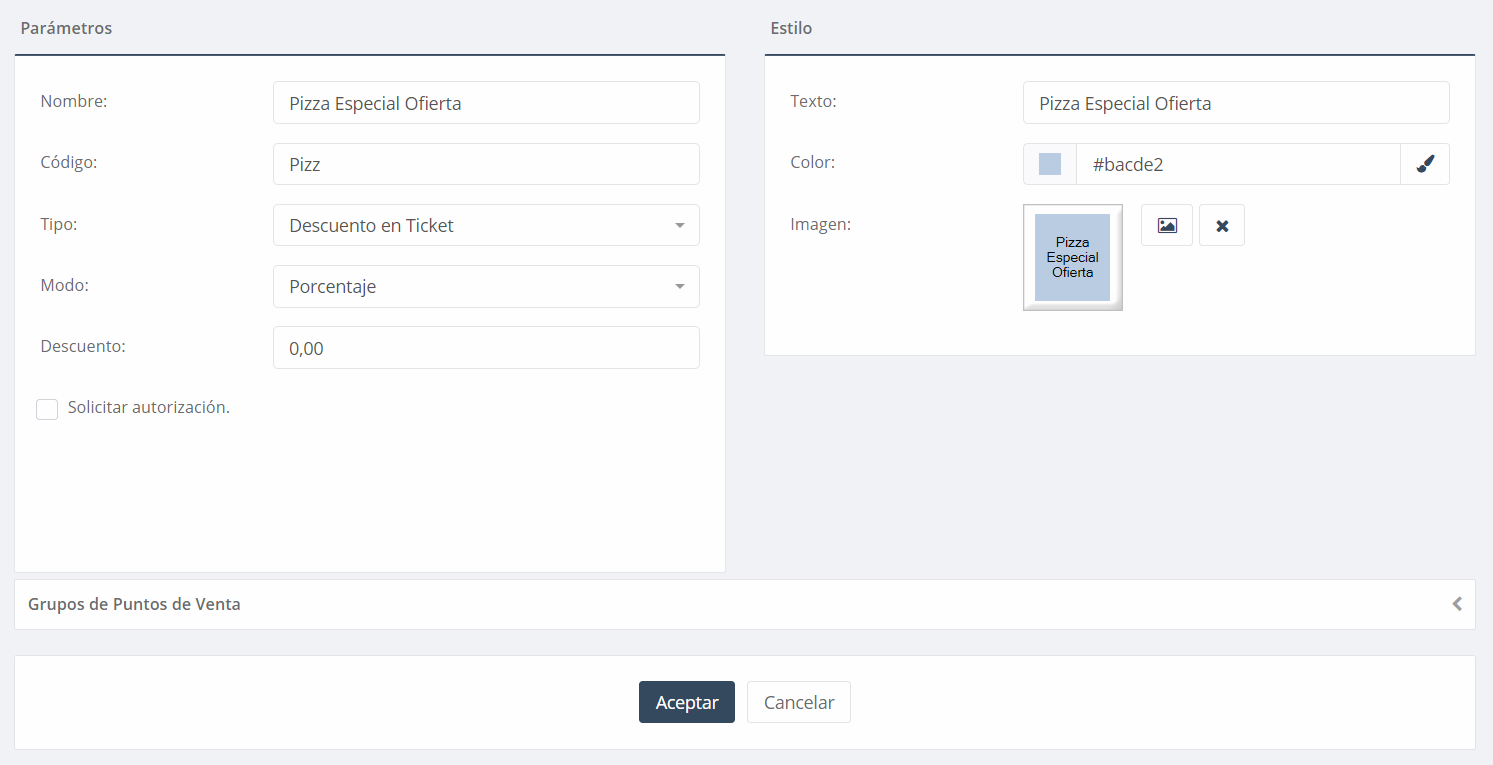
Introduce a name for your new reward:

Select the option "Discount on Receipt":

When finished, press "Accept":
○ cash_discount
○ percentage_discount
NOTES:
● Cash & Percentage Discounts:
○ Create in Yalt.
○ Automatically appear in ÁGORA once unlocked by the client
○ Important: Apply after products have been added to the bill
Important - To set up your Cashback Loyalty Program, please follow this link to check up the tutorial - /hc/help/articles/hc-11380048-how-to-create-a-loyalty-program-cashback
● Named Rewards:
○ Create in Yalt first.
○ Then create in ÁGORA Admin so it shows in the UI
● Steps in ÁGORA Admin:
1. Create the discount.
2. Select Type: “In ticket”
3. Ensure the CODE matches the one in Yalt